Multi-Factor Authentication (MFA): What It Is and Why You Need It From Our Cybersecurity Company in San Marcos, TX
*** Updated April 2023 *** Originally published July 2022
It’s time to turn on MFA on all of your accounts – banking, work, social media accounts… everything needs MFA.
October is National Cybersecurity Awareness month and that’s a great opportunity to talk about data security.
We use passwords for all kinds of online activity, from social media to our bank accounts. You can probably think of a dozen accounts you have passwords for right now.

Unfortunately, data breaches including password theft have become so common that the World Economic Forum considered cyber-attacks among the top five risks to global stability in 2019.
Multi-factor authentication is currently one of the best and most basic defenses you can have to stop the wrong people from logging into your accounts.. Let’s look at what it is and how to set it up.
What is Multi-Factor Authentication?
Multi-factor authentication (MFA) is a security feature offered by many online services today that sets up a second verification method for logging into accounts. That second verification method is triggered when certain conditions are met.
Let’s take a look at that and clear up some of the terminology.
What is a second verification method?

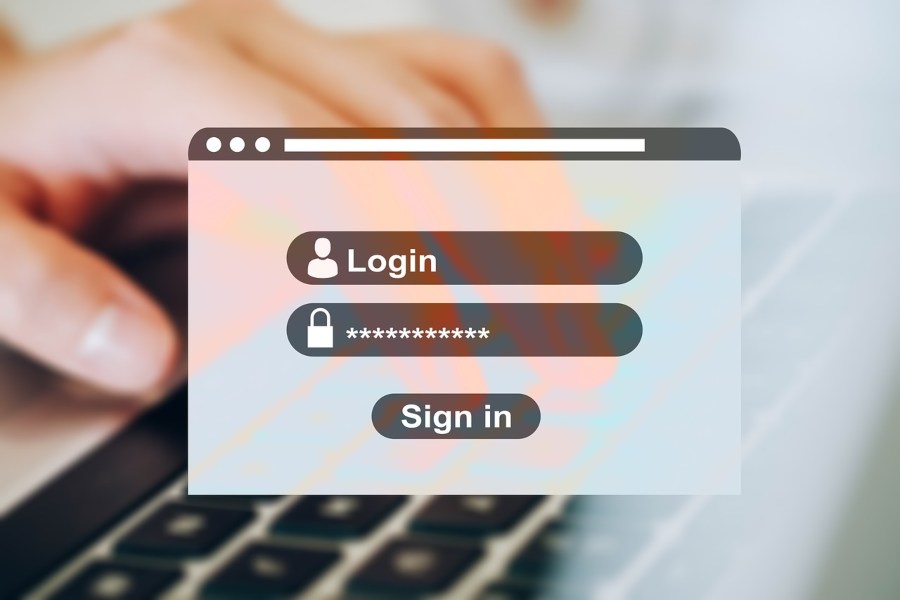
When you log into an account with your username and password, your username and password are the FIRST verification. That shows that you own an account with the service. The second verification usually calls for a second device, like your cell phone.
For example: You log into your email with your username and password. If you have MFA set up and conditions are met to trigger it, before you can access your account a text message with a unique code will be sent to the cell phone you connected when you set up MFA. You’ll need to enter that code online before you can finish accessing your account.
The second verification method doesn’t always have to be a text message. For example, Google accounts sometimes send a regular push notification that allows you to just tap a prompt on your phone to continue logging in instead of entering a code.
Some accounts also allow MFA to be set up using an “authenticator app.” An authenticator app generates a unique code every 60 seconds that you must enter to log into accounts connected to it. Authy and MS Authenticator are two of the most popular authenticator apps.
Right now you might be imagining that it would be a huge pain to have to enter more than your username and password to log into your accounts all the time. Luckily, even with MFA activated, that isn’t the case.
What are the conditions that trigger the second verification method?
Turning on MFA won’t cause logging into your accounts to be a pain because you’ll rarely trigger the second verification method yourself. Here’s why:
Most accounts recognize the device you are logging in on. This is how you’re able to check the option to “remember me for 14 days” on some accounts and not have to re-enter your password at all during that time.
Your location is also usually recognized. If you always log into your email from your home or your office, these locations will be recognized. If you visit a friend in another city or state, your location won’t be immediately recognized.

Changing either of these two conditions, the device and location, are often what trigger a second verification method when using MFA. So when you log into your email from your regular computer or laptop at home or at your office, you won’t have to deal with the second verification method at all after using it once.
Why is this so helpful? With MFA set up, if someone tries to log into your account from another device or in another location they won’t be able to, even if they have your exact password. The MFA will present them with a second verification that they won’t be able to get past. In addition, you’ll notice immediately that your password has been compromised because you’ll receive a notification for a login attempt you know you didn’t make.
Setting Up Multi-Factor Authentication
MFA must be set up on each account you want to use it for; there is no universal set up at this time. Fortunately it’s pretty easy to set up on the accounts where it is available! We’re going to look at how to set up MFA for some specific accounts below, but in case the account you want to use it for isn’t listed here, these are the general steps:
- Log into the account you want to protect
- Find the account settings
- Find the security settings option
- Look for a multi-factor authentication (MFA) or 2 factor authentication (2FA) option
- Follow prompts to complete the set up
Below are specific instructions to set up MFA for some of the most popular online services that offer it in their security options.
How To Set Up Multi-Factor Authentication for a Google Account (Gmail)

NOTE: If your business uses Google Workspace and your admin enables your organization with MFA, you will be prompted to set it up as soon as you log in. The following instructions are for free Gmail on the web.
- Step 1: Log into your Google account
- Step 2: Go to Security in the account options
- Step 3: On the Security page find “Signing in to Google” and choose “2-Step Verification” (preview shown below)

- Step 4: Click “Get Started” and verify using your password
- Step 5: Choose how to receive second level verification codes
- Google defaults to setting up push notifications on a cell phone. If you would prefer text messages choose “Show more options” and click that option in the dropdown menu
- Step 6: Follow the prompts to enter your phone number and verify using the appropriate code or push notification sent to you.
How to Set Up Multi-Factor Authentication for a Microsoft Account (Outlook)
NOTE: If your business uses Microsoft 365 and your admin enables your organization with MFA, you will be prompted to set it up as soon as you log in. The following instructions are for free Outlook on the web.
- Step 1: Log into your Microsoft account
- Step 2: Go to Security in your account options and click “update”
- Step 3: On the Security page choose “Two-step verification” (preview shown below)

- Step 4: You should end up on the Additional Security Options page (you may have to verify with your password first). Choose “Set up two-step verification” then click “Next”
- Step 5: Choose how to receive second level verification codes
- Outlook allows the use of an authenticator app, a phone, or an email
- NOTE: If you choose to verify using an app, Microsoft has their own authenticator app you can use. If you are planning to set up MFA on multiple accounts, you’ll probably want to use a different authenticator that works with multiple accounts, such as Authy. To use Authy or another authenticator besides the Microsoft one, just choose “set up a different Authenticator app”
- Step 6: Follow the prompts to enter your phone number or email or to set up an authenticator app and verify using the appropriate code.
How to Set Up Multi-Factor Authentication for a Yahoo! Account
- Step 1: Log into your Yahoo! account
- Step 2: Go to the Account Security page
- Step 3: On the Account Security page choose “Phone Number” from the Two-step verification options (preview shown below)

- Step 4: Follow prompts to enter your phone number and verify using the code sent to you.
How to Set Up Multi-Factor Authentication for a PayPal Account
NOTE: Currently setting up MFA on PayPal will cause you to get a second level verification every time you log in, unlike other services which remember your location and device. While it may seem an inconvenience, it’s important to have this extra security on accounts that have access to your financial information.
- Step 1: Log into your PayPal account
- Step 2: Go to Settings page and choose “Security”
- Step 3: Choose “2-step verification” and click “Update” (preview shown below)

- Step 4: Follow prompts to enter your phone number and verify using the code sent to you.
How to Set Up Multi-Factor Authentication for a Facebook Account
- Step 1: Log into your Facebook account
- Step 2: Go to “Settings & Privacy” then “Settings” (after September 2020 update the settings dropdown is now located in the very top right corner of your newsfeed screen under the “Account” arrow in the browser version)
- Step 3: Choose “Security and Login.” Scroll down to the “Two-Factor Authentication” section (preview shown below)

- Step 4: Click “Edit” to open two-factor authentication options
- Step 5: Choose how to receive second level verification codes
- Facebook allows the use of an authenticator app or a phone
- NOTE: If you choose to use your phone you will need to set up a new “Forgot Password” method. Facebook does not allow the same phone to be used for both MFA and password resets
- Step 6: Follow the prompts to enter your phone number or to set up an authenticator app and verify using the appropriate code.
How to Set Up Multi-Factor Authentication for a Twitter Account
- Step 1: Log into your Twitter account
- Step 2: From your home feed, click on “More” then “Settings and privacy”
- Step 3: You should end up on the Settings>Account page. Choose “Security” (preview shown below)

- Step 4: Choose “Two-factor authentication”
- Step 5: Choose how to receive second level verification codes
- Twitter allows the use of an authenticator app or a phone
- Step 6: Follow the prompts to enter your phone number or to set up an authenticator app and verify using the appropriate code.
Looking for More?
Didn’t see instructions for the service you need to set up MFA for? Just contact us or message us on Facebook and we’ll do our best to update with instructions for the service you need.

Remember, MFA isn’t the only way to keep your passwords safe. It’s also important to do the following:
- Use a strong password. Strong passwords should meet all of these requirements:
- be at least 16 characters long or more, or as many as an account allows if it is less than 16
- use upper and lowercase letters, numbers, and special characters (where allowed)
- be random – a password such as “MyTechIsSafe123!” is not as secure as a password like “vCQEe!EK47SayS_B.”
- Make passwords unique and never use the same password for more than one account. If a password is compromised on one account, it compromises all the others.
- Use a password manager such as LastPass, Bitwarden, or Keeper. Bitwarden offers a free password manager with everything you need so you don’t have to remember all of your long, complicated, unique passwords.
More Insight from Our San Marcos Cybersecurity Team
For more tips to help keep your data safe, check out our Complete Guide to Password Security 2020 and like our Facebook Page for daily cybersecurity tips throughout October.