
How to Optimize Images and Keep Your Website Lightning Fast
Optimizing images is a critical skill that directly influences site speed, search visibility, and sales. Follow this quick roadmap:
- Choose the right format – JPEG for photos, PNG for graphics with transparency, WebP/AVIF for modern browsers
- Compress smartly – tools like TinyPNG or Squoosh can remove up to 80 % of unnecessary data
- Resize to actual display dimensions – never upload 4000 px images for an 800 px slot
- Add descriptive filenames and alt text – essential for accessibility and SEO
- Serve responsive images with
srcsetandsizes - Enable lazy loading so off-screen images don’t block rendering
Pages that load in under two seconds keep users engaged; images often make up the largest share of page weight. According to Google, faster sites earn better rankings and higher conversion rates. In other words, every unoptimized image silently drains revenue.

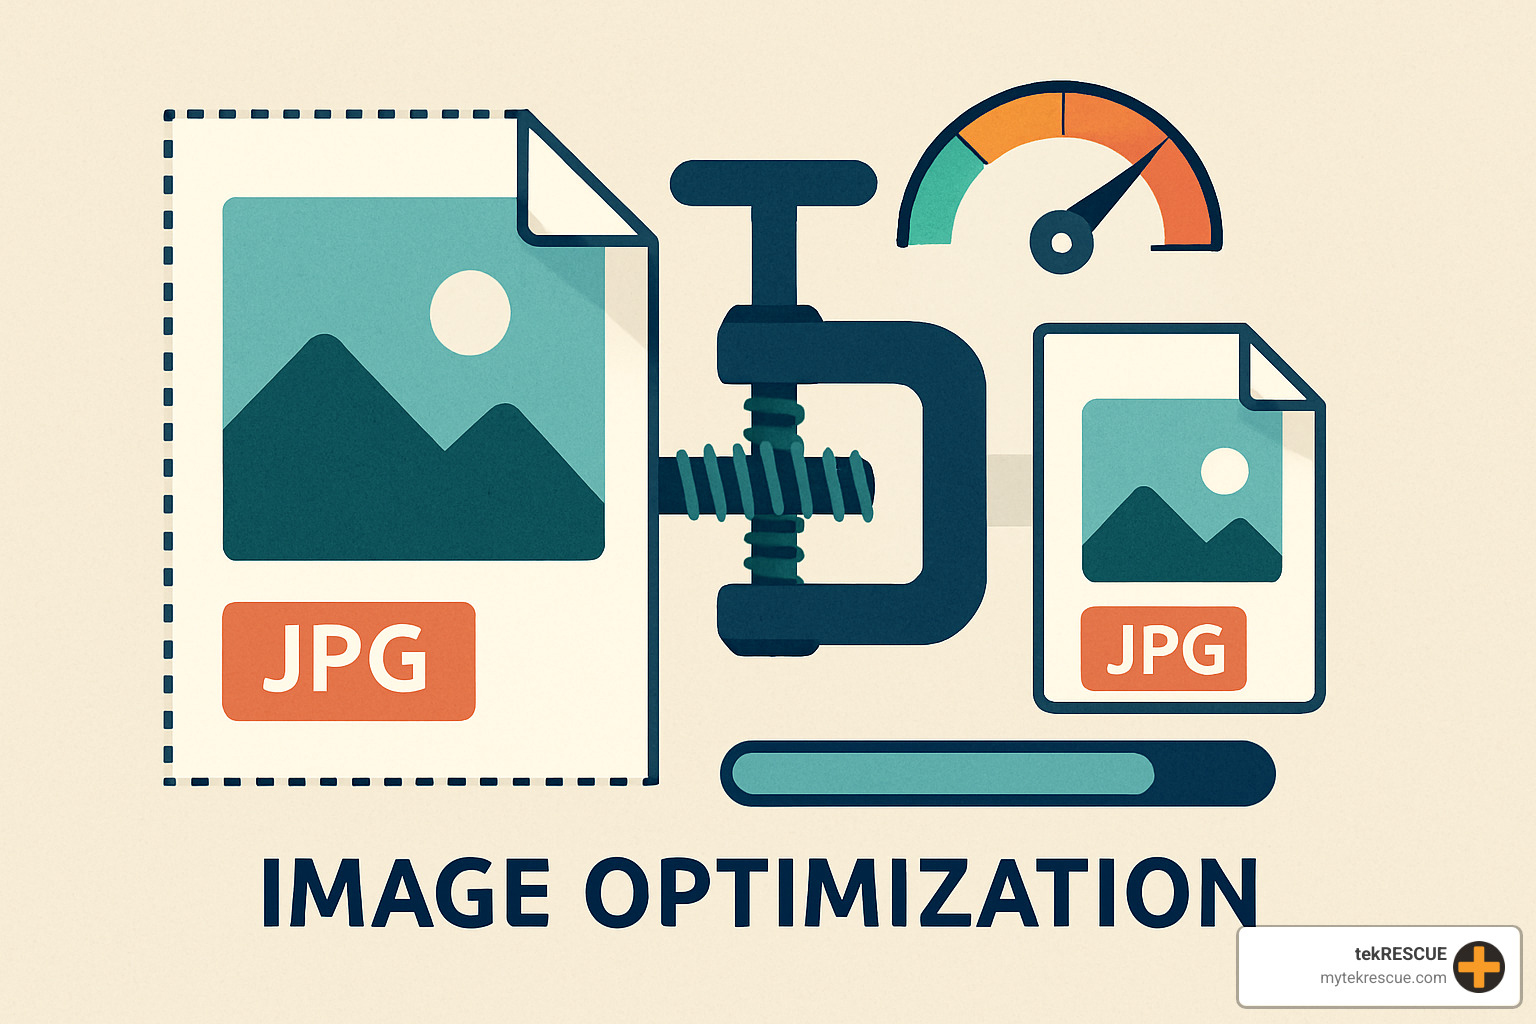
What is Image Optimization?

Image optimization reduces file size while maintaining acceptable quality. A phone photo can weigh 5 MB at 3000 × 4000 px, yet the same shot shown at 800 × 600 px can be trimmed to a few hundred kilobytes or less. The payoff:
- Faster load times and improved Core Web Vitals
- Lower bandwidth and hosting costs
- Better mobile UX, which now represents most traffic
Google Images surfaces visual results for more than one-third of all queries, so optimizing alt text and filenames is just as important as shrinking bytes.
At tekRESCUE we routinely tune sites for companies across San Marcos, Kyle, Bastrop, and the broader Central Texas region. A typical engagement cuts page weight by 30-50 % and materially lifts search positions. For a deeper explanation of speed as an SEO factor, see The Importance of Site Speed for SEO.
How to Optimize Images for Search Engines (SEO)
Search engines “read” images through text. Strengthen that text with these best practices:

Descriptive filenames
Replace “IMG_1234.jpg” with something like “cybersecurity-consultation-san-marcos.jpg”.
Alt text
Write a clear, under-125-character description that naturally includes a target phrase:
“cybersecurity expert auditing firewall settings.”
Image sitemaps & structured data
Submitting an image sitemap in Google Search Console and adding structured data helps crawlers index visuals and open up rich results.
Context
Surround images with related copy so algorithms can confirm relevance. For additional techniques, visit Tips for Optimizing Images & Videos for SEO.

A Practical Guide on How to Optimize Images

Step 1: Choose the Right File Format and Compression
Selecting a format is like selecting a tool: use JPEG for photo realism, PNG for transparency and sharp edges, WebP for modern performance, and AVIF where browser support allows. Remember the difference:
- Lossy compression (JPEG, WebP, AVIF) permanently discards subtle data for big savings.
- Lossless compression (PNG, WebP-lossless) reorganizes pixels without fidelity loss.
| Format | Best for | Compression | Transparency |
|---|---|---|---|
| JPEG | Photos | Lossy | No |
| PNG | Graphics | Lossless | Yes |
| WebP | Mixed | Lossy/Lossless | Yes |
| AVIF | Cutting-edge | Lossy/Lossless | Yes |
If you need a refresher, More about lossless vs. lossy compression explains the nuances.


Step 2: Resize and Serve Responsive Images
Upload only what the visitor must download. Inspect each slot and export at that width (plus 1.5–2× for high-DPR screens). Then add:
<img
  src="hero-800.jpg"
  srcset="hero-400.jpg 400w, hero-800.jpg 800w, hero-1600.jpg 1600w"
  sizes="(max-width: 600px) 100vw, 50vw"
  loading="lazy"
  alt="tekRESCUE team reviewing security dashboard">
The browser picks the smallest appropriate file, saving bandwidth automatically. The <picture> element lets you layer in WebP versions for capable browsers. If your graphic is purely geometric, consider SVG—our guide on Pros and Cons of Using Scalable Vector Graphics on Your Website weighs the trade-offs.
Step 3: Automate With Tools, Plugins, and CDNs
Online compressors such as Squoosh or TinyPNG are perfect for one-off tasks. For WordPress, plugins like Smush, Imagify, or EWWW Image Optimizer process every upload automatically.

A modern image CDN goes further by:
- Converting files to WebP/AVIF on the fly
- Resizing per request location and device
- Caching assets on edge servers around the globe
Measure Your Success and Automate for the Future

Optimization without measurement is guesswork. Free tools such as Google PageSpeed Insights, GTmetrix, and WebPageTest visualize the impact of your changes and highlight next steps. Focus on Core Web Vitals:
- Largest Contentful Paint (LCP) under 2.5 s
- First Input Delay (FID) under 100 ms
- Cumulative Layout Shift (CLS) below 0.1
Schedule a monthly review; as formats evolve (e.g., wider AVIF support) you can migrate painlessly.

Automation is the final ingredient. Integrate image processing into your CMS or CI/CD pipeline so every new upload is:
- Compressed to preset quality
- Resized into multiple breakpoints
- Delivered through a CDN with lazy loading enabled
This closed loop keeps sites fast without extra effort.

Next Steps
Mastering how to optimize images pays off in faster load times, happier visitors, and stronger SEO. If you’d like expert help, our team can audit your site and implement a turnkey performance plan.

Contact us or request a free website performance audit at https://mytekrescue.com/contact. Let’s make your site lightning fast—no matter where your customers are.
Table of Contents